
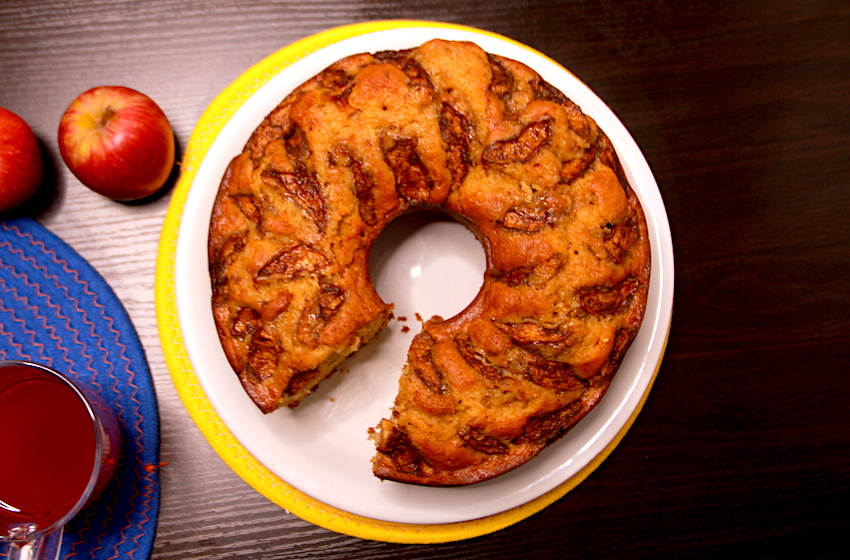
This Jewish Apple Cake is wonderfully dense, moist, and packed full of cinnamon sugar-coated apples. This cake smells amazing and tastes better the day after.
INGREDIENTS
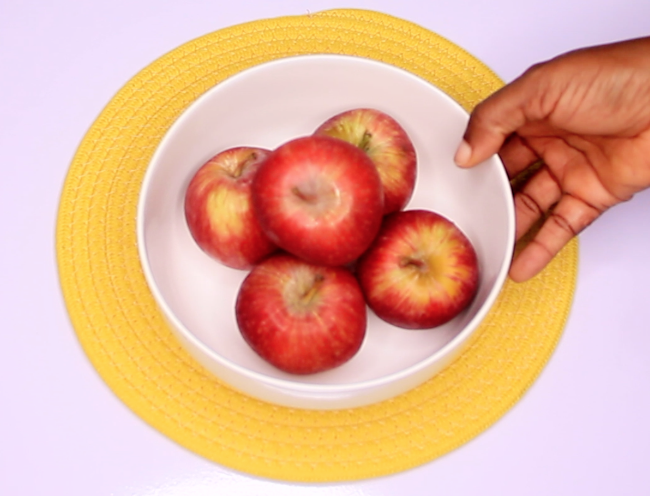
- Apples – 5 – You can use more
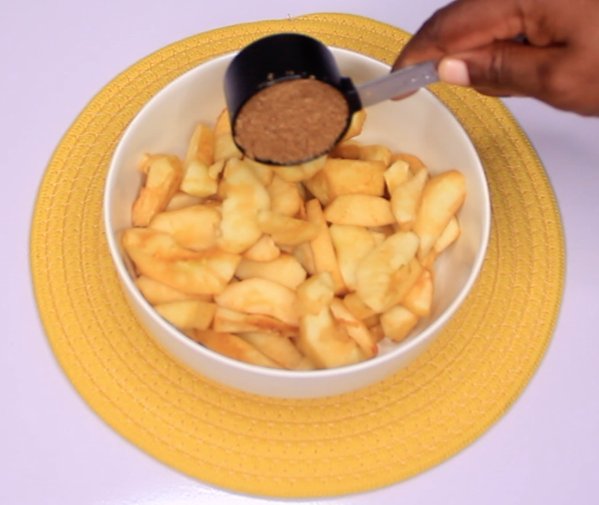
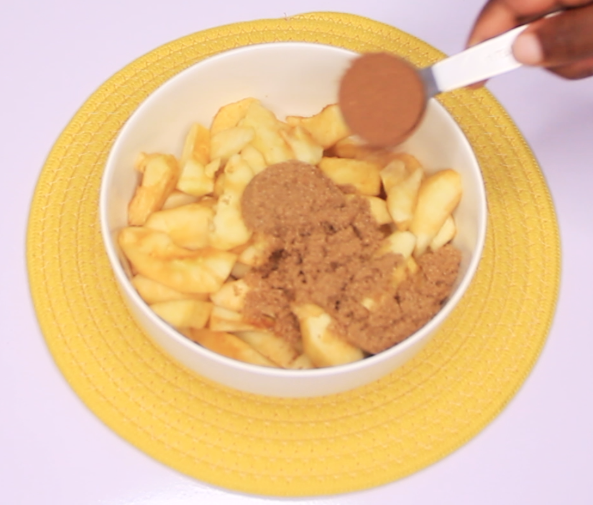
- Brown sugar – 1/4 cup
- Cinnamon powder – 1 tablespoon
CAKE BATTER
- All-purpose flour – 3 cups
- Baking powder – 1 tablespoon
- Salt – 1/2 teaspoon
- Eggs – 4 large
- Sugar – 2 cups
- Orange juice – 1/2 cup
- Vegetable oil – 1 cup
- Vanilla essence – 1 tablespoon.
PROCEDURE

Step 1
Rinse, peel, core and slice the apples.


Step 2
You can use any kind of apples you like.

Step 3
Add 1/4 cup of sugar. You can use white or brown sugar.

Step 4
Add 1 tablespoon of cinnamon powder and mix until the apples are well coated.


Step 5
Set aside.

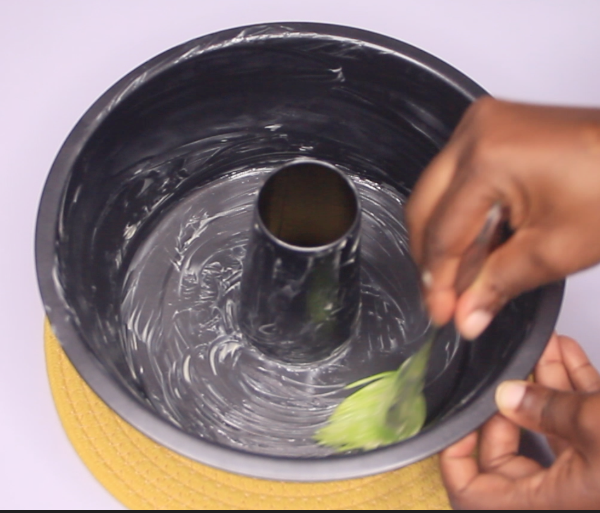
Step 6
Generously grease a tube pan. You can use a cooking spray. Set aside.

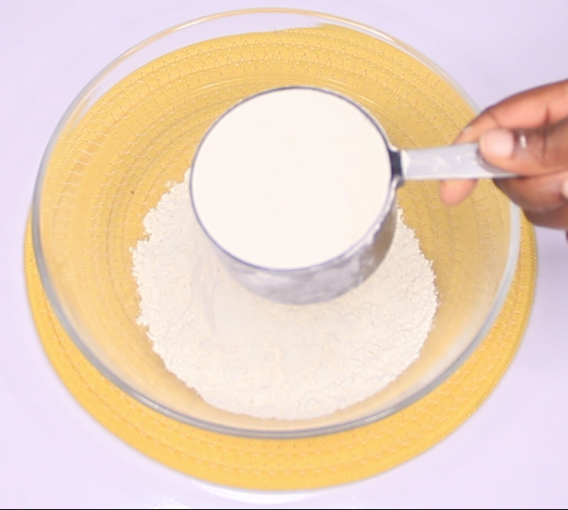
Step 7
In a medium bowl, measure out 3 cups of all-purpose flour.

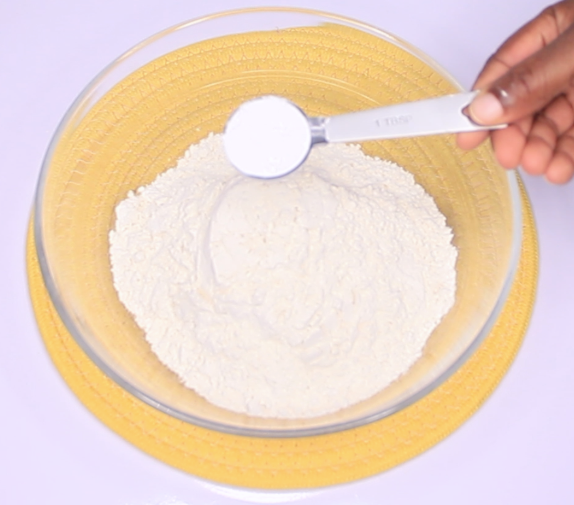
Step 8
Add the baking powder and salt and mix to combine.

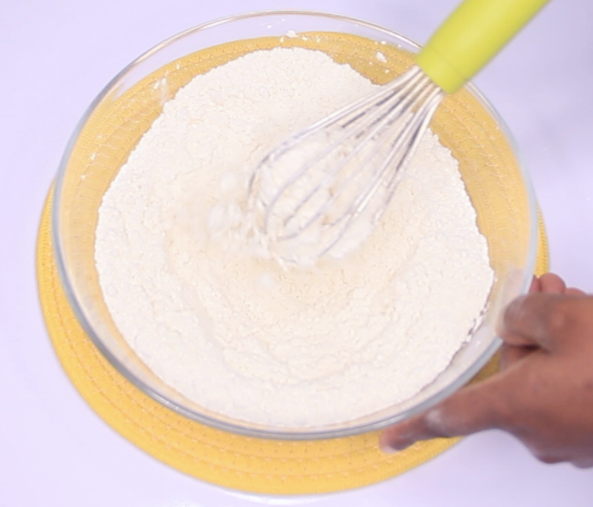
Step 9
Set aside.


Step 10
In another bowl, pour in the eggs.

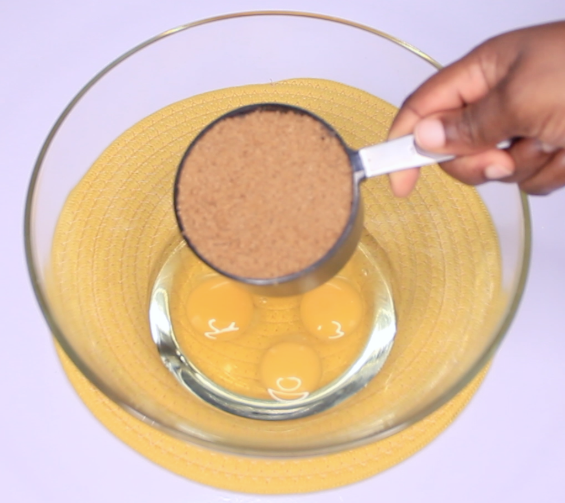
Step 11
Add one cup of brown sugar.

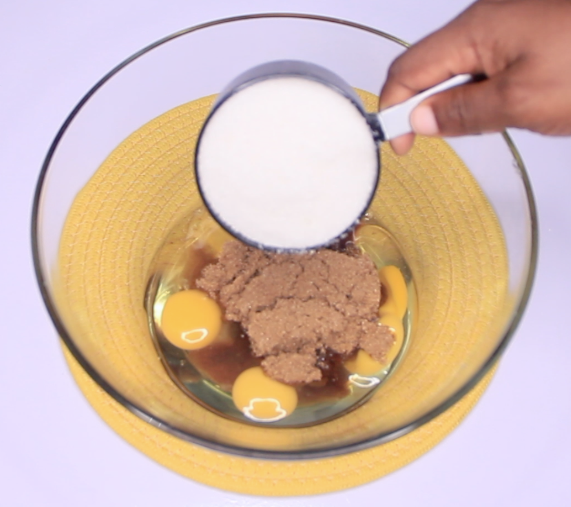
Step 12
Add one cup of white sugar. You can use only white sugar. I just like the combination of white and brown sugar.

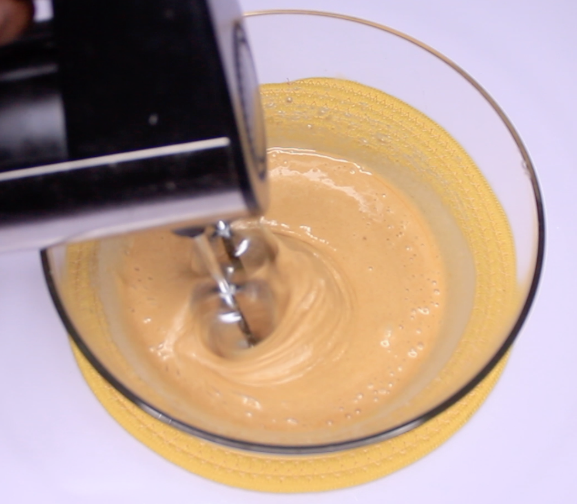
Step 13
Mix until it’s combined.

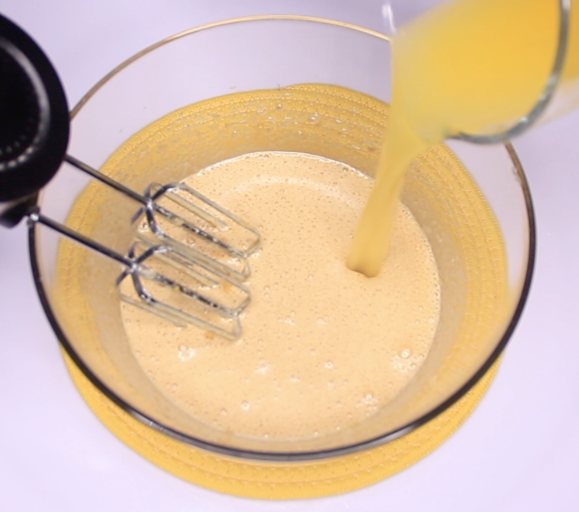
Step 14
Add the freshly squeezed orange juice.

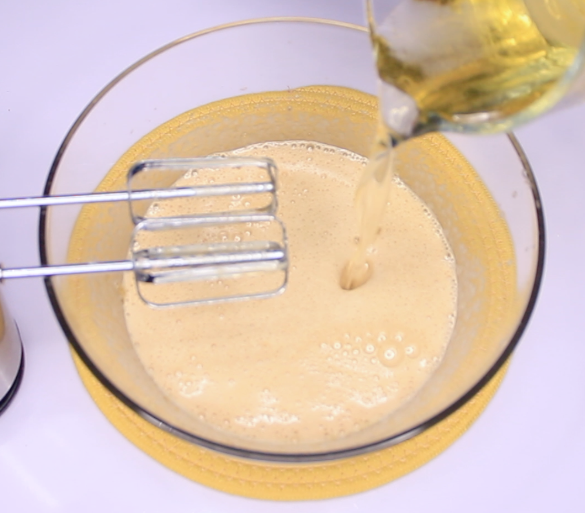
Step 15
Add the vegetable or canola oil.

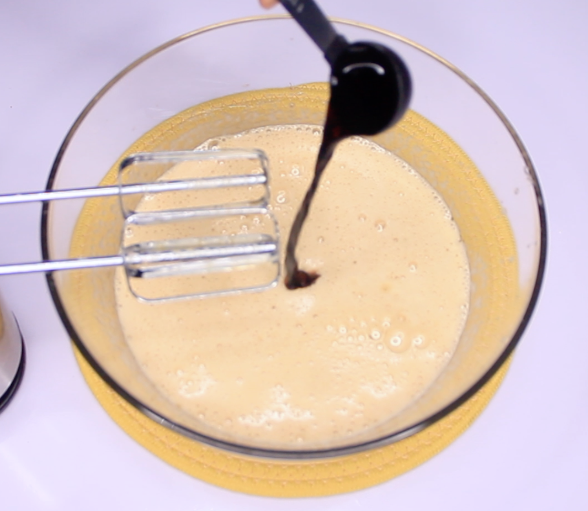
Step 16
And a tablespoon of vanilla essence.

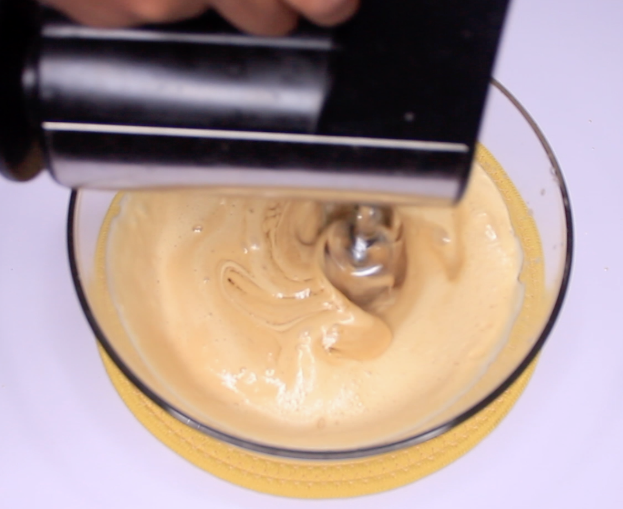
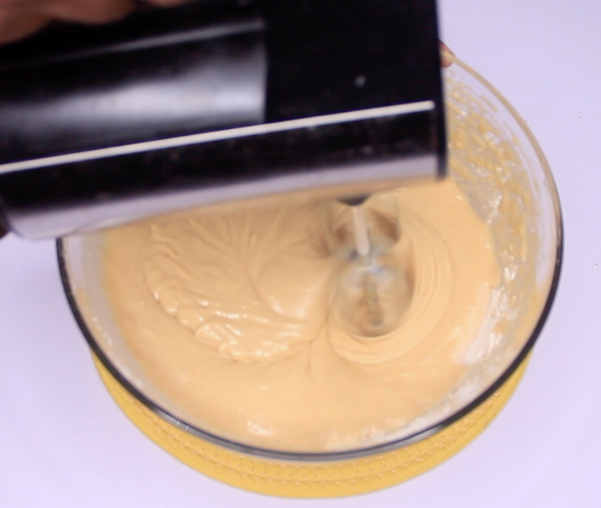
Step 17
Mix well until it’s combined.

Step 18
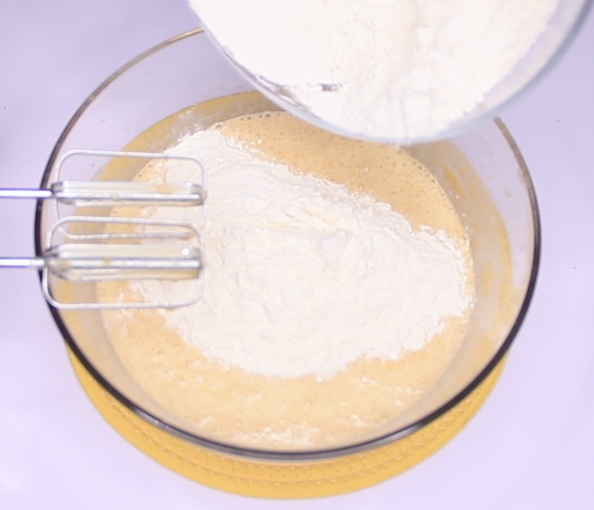
Add the flour mixture

Step 19
Mix on the lowest speed until combined, do not over-mix. You can fold in any visible flour with a spatula.

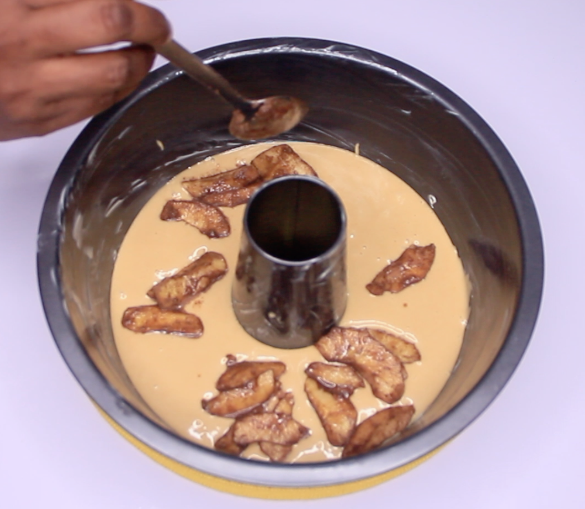
Step 20
Pour in half of the batter into the pan and arrange the apple slices on it.

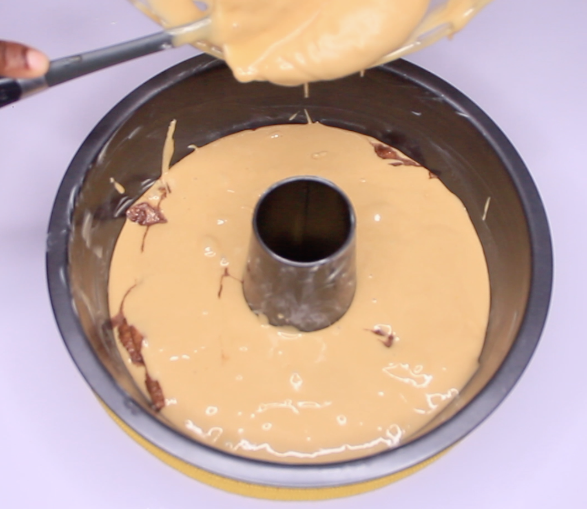
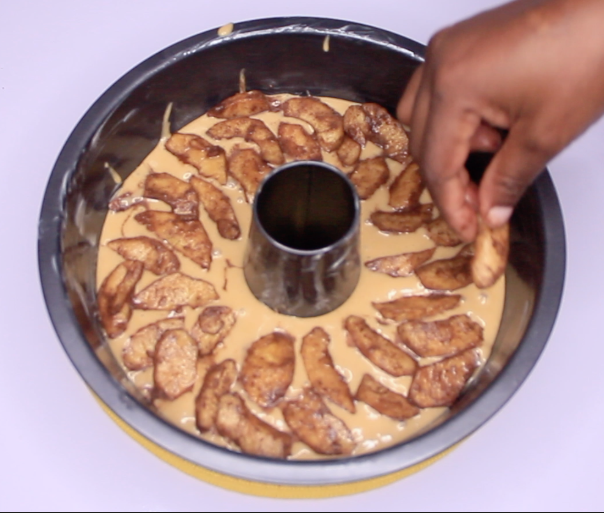
Step 21
Pour in the rest of the batter and add the rest of the apples.

Step 22
Bake in a preheated 350 F oven for 50 to 55 minutes or until a toothpick inserted comes out clean.

Step 23
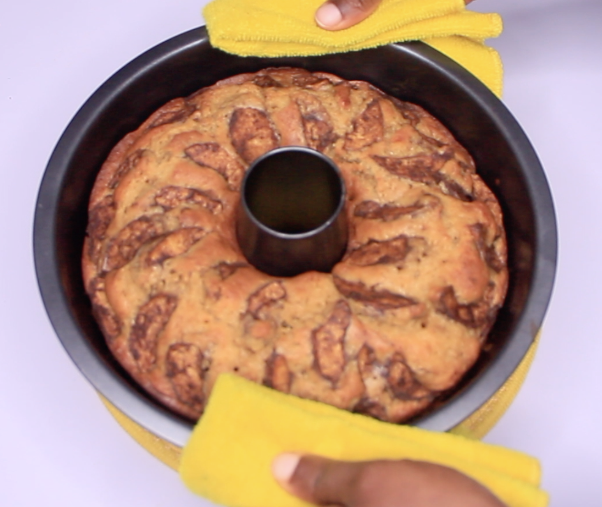
Take out the cake from the oven and allow it to rest for 10 minutes.

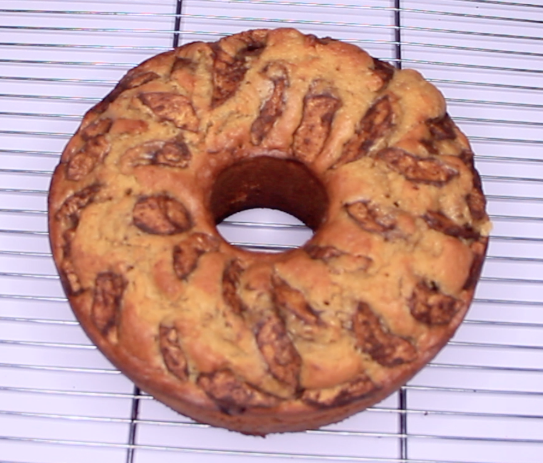
Step 24
Remove the cake from the pan and cool completely on a rack. This cake tastes better and is best enjoyed the day after.

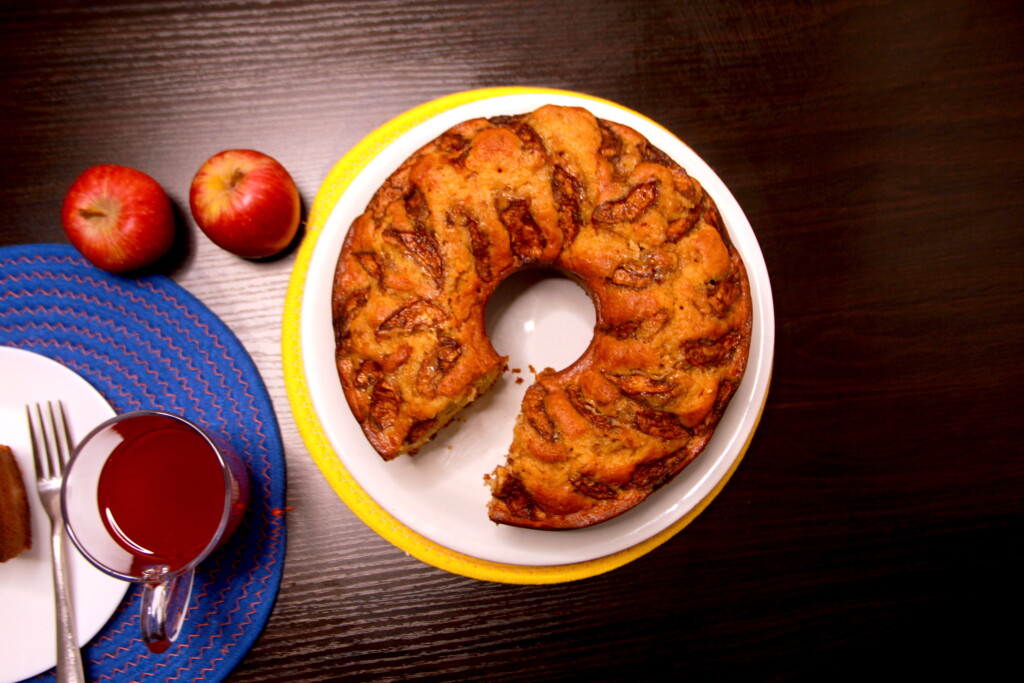
Step 25
Enjoy!
Watch the Recipe Video
